Installation instructions
Our services
If you don’t want to understand the technical details or you simply don’t have time, our team will install and configure the server for you.
⚠️ Please note: you receive and save all API keys and private keys yourself. We only prepare and configure the server.

🤖 Stage 1. Telegram bot and Admin ID
Open Telegram and find @BotFather
Team/newbot– creates a bot
Go to/mybots, select the bot and copy API Token
Find out your Admin ID: write to the bot @userinfobot— he will send your numerical ID
📝 Save token и Admin ID— they will be asked once during installation.

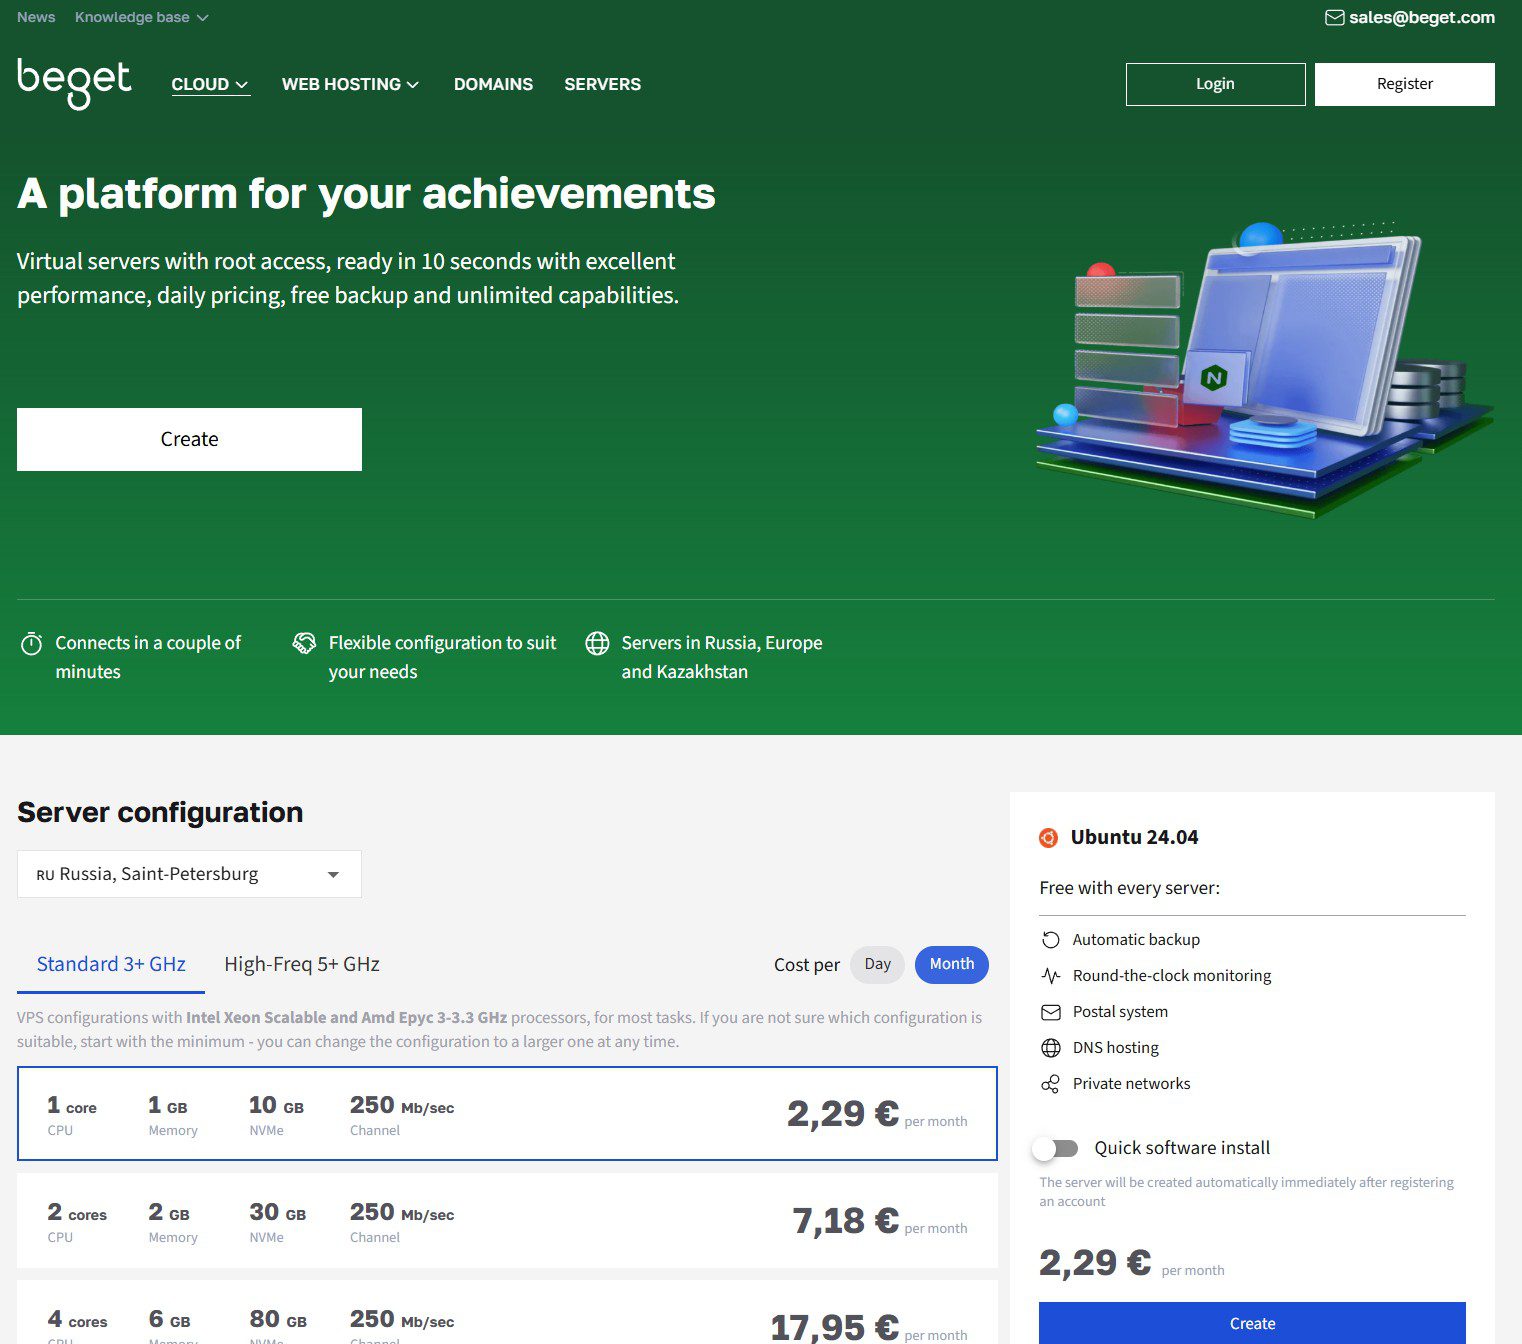
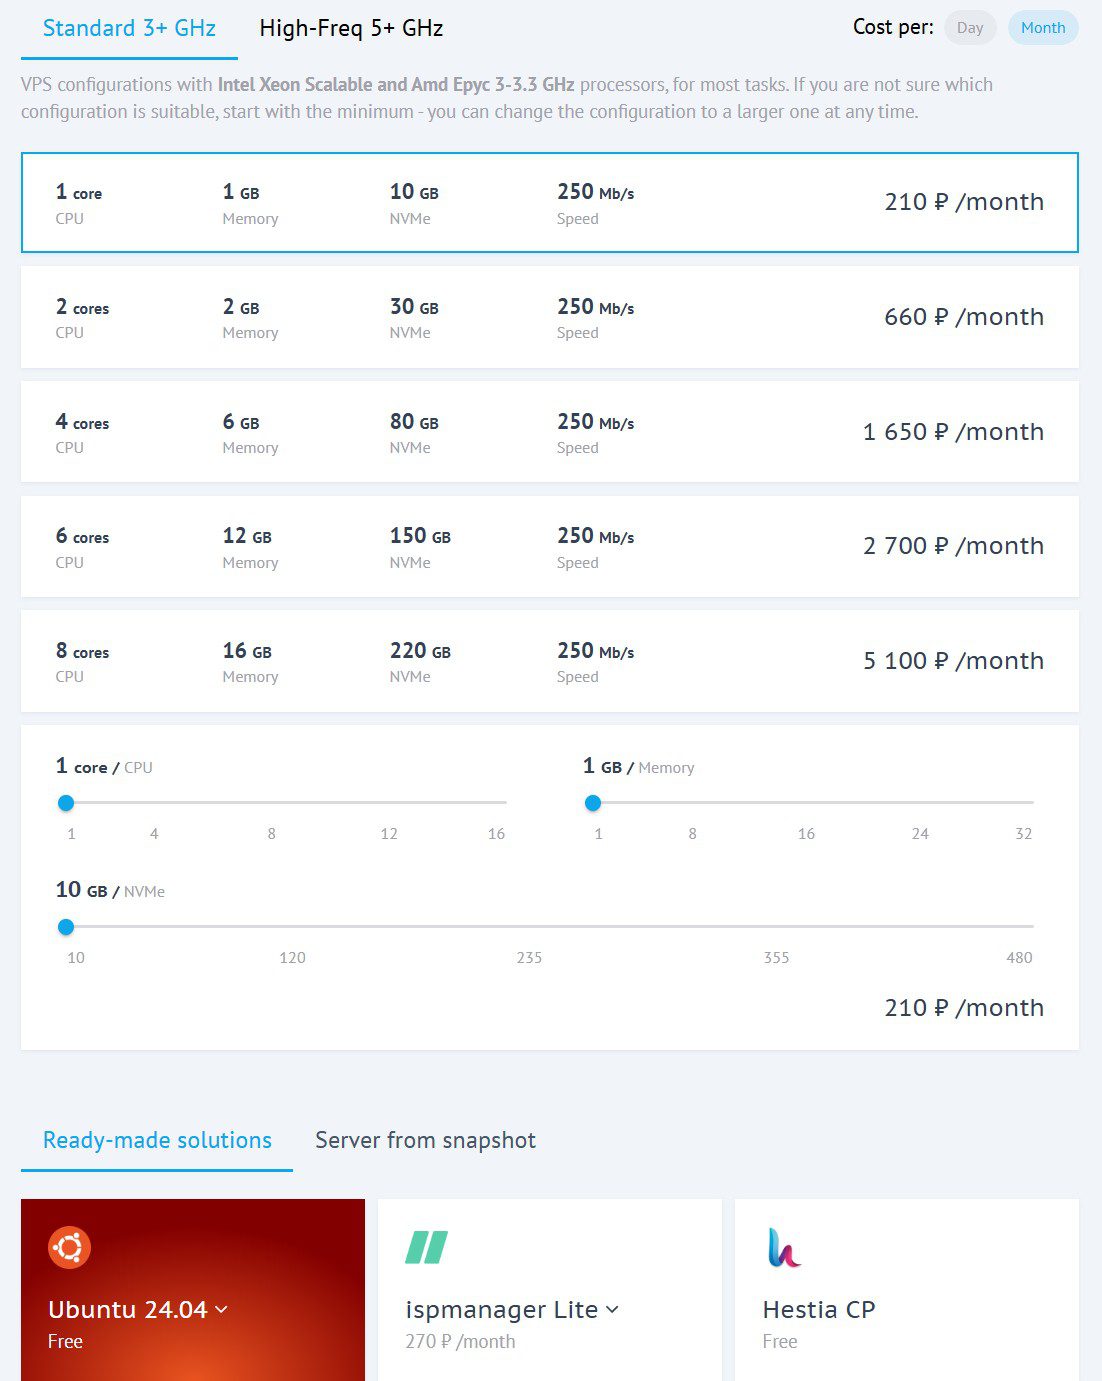
🌐 Stage 2. VPS rental
🖥 Stage 3. Installing Ubuntu 24.04
When ordering a VPS, immediately select the operating system Ubuntu 24.04 — our installation script has been prepared specifically for it.
⚙️ Stage 4. Installation with one command
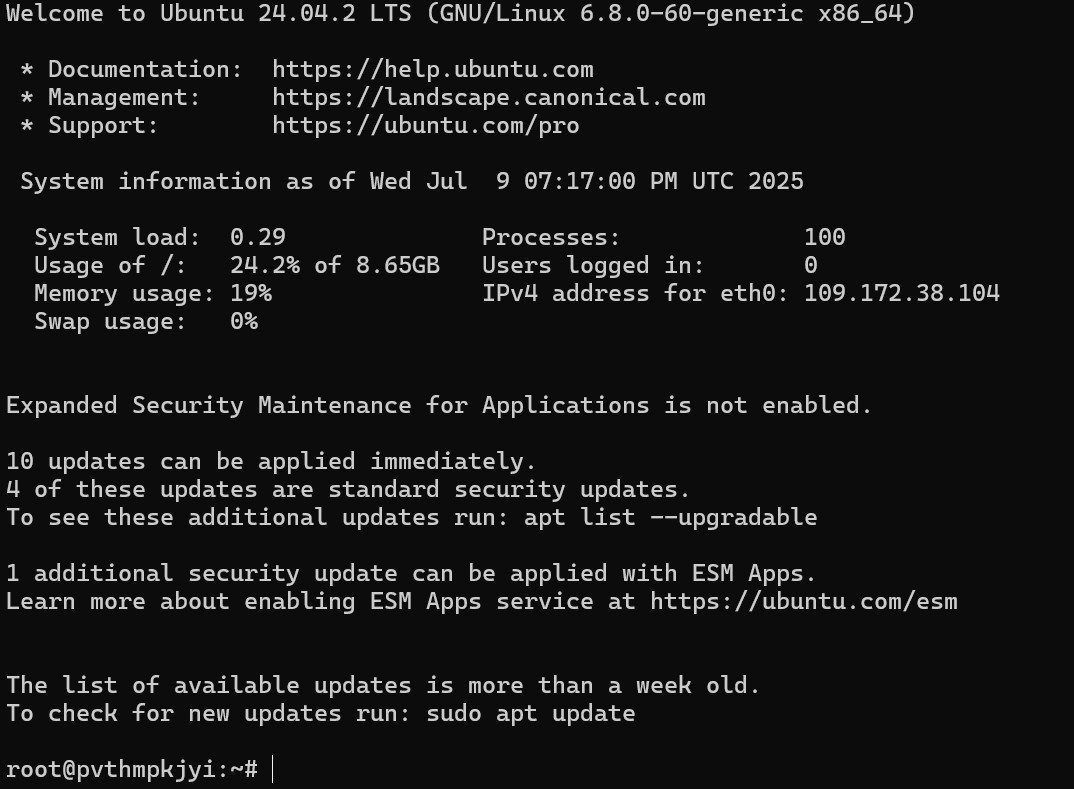
Connect to the server via SSH, for example through the Windows PowerShell program
Team:
ssh root@your.ip.address
Next it will ask for your hosting password.
After you have logged into the hosting, paste and execute one team:
curl -sL -o d https://storage.yandexcloud.net/dexbot/setup_dexbot.sh && sudo bash d
The installer will ask only 3 questions:
- License key (from your subscription / personal account)
- Telegram bot token (from Stage 1)
- Admin ID (from Stage 1)
✅ Then everything is installed automatically: dependencies, database, service. At the end, the bot launches itself.
📩 Stage 5. Access will come to Telegram
After installation the bot he will send you the file in Telegram with all access and management commands (database, Adminer, logs, update).
🔐 Save the file in a safe place, then delete the message – the data is deleted automatically on the server.
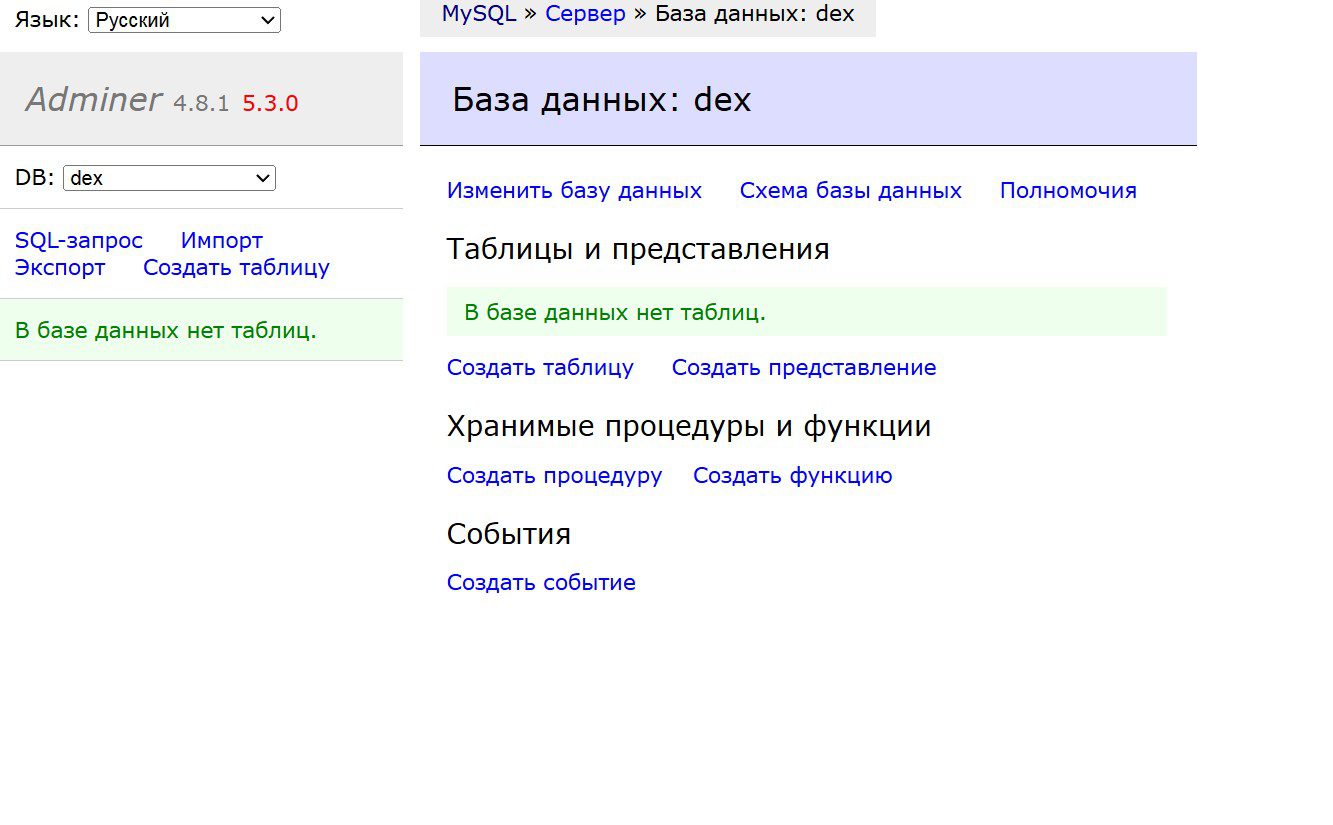
Accessing the database through a browser (Adminer):
http://IP-ADDRESS
Login and password to enter – from the sent file.
📊 Stage 6. Done!
Ready! The bot works 24/7 and starts itself after a server reboot.
Open the bot in Telegram and write /start— API keys, wallets and trading pairs are configured directly in the bot using buttons.
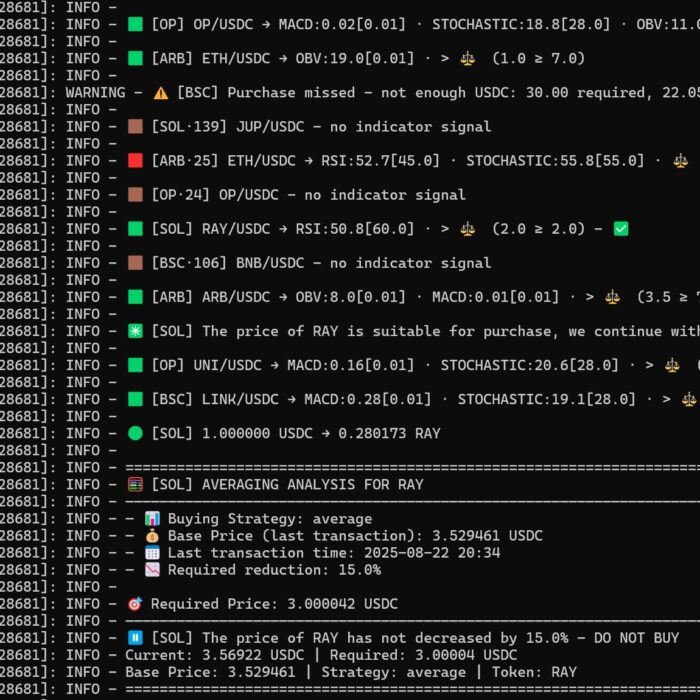
View the bot’s work (logs):
sudo journalctl -u DEXBOT.service -n 1500 -f